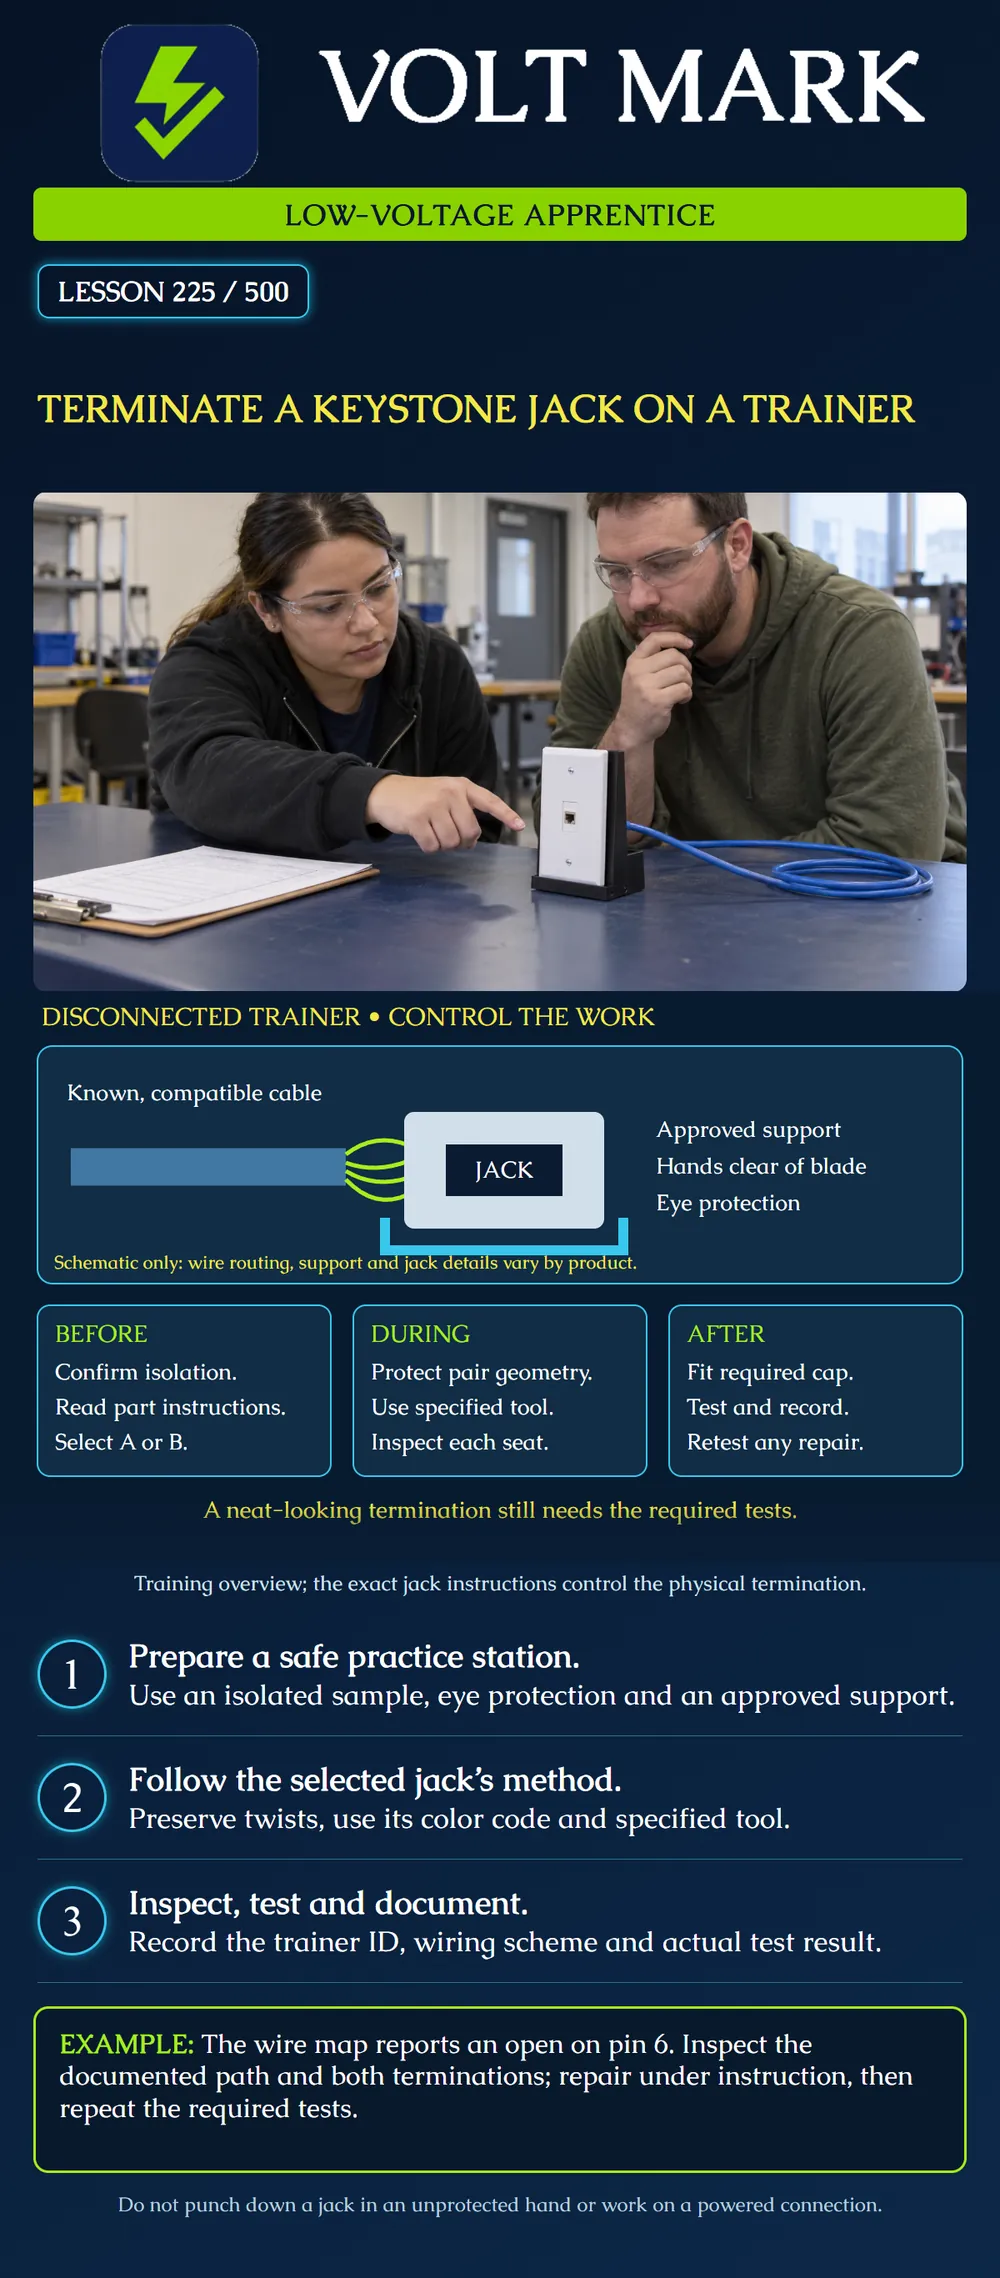
Complete a supervised practice termination on a disconnected cable sample, inspect the work and produce an honest test record. The poster is an overview. Use the exact jack's installation instructions for dimensions, routing, tooling and assembly.
The instructor supplies a compatible cable and modular jack, its matching mounting plate, the exact instructions, the specified preparation/termination tools, an approved jack support, eye protection and a suitable tester. Confirm that the mounting format fits; not every snap-in outlet fits every plate. Use an isolated sample with both ends positively identified. It must not connect to a switch, PoE injector, telephone circuit, building system or other source. Unknown cable origin stops this exercise. Keep the station dry and clear of scraps. Read the trainer work card: sample T-225, chosen wiring scheme, connector part number, required tests and instructor name. The selected scheme must be known before lacing conductors.
Siemon's Flat MAX example specifies a guard and stable support, the tool alignment, and a low-impact recommendation. It requires the termination cap before testing. It also gives product-specific preparation and routing details. Those instructions illustrate why support, tool setting and final assembly must come from the actual product—not a remembered generic method. [1] Leviton's ATLAS-X1 platform provides a contrasting tool-free termination design. Do not apply an impact punch-down procedure to a jack just because it has an RJ45 interface. Identify its termination method first. [2]
This sequence organizes the exercise. It does not replace the manufacturer's detailed installation directions or qualify a learner to work independently on live systems.
The first wire-map report for T-225 shows an open at pin 6. The learner proposes striking that contact repeatedly. The instructor asks for evidence instead. Check the cable identity, tester connection, selected test setup and the accessible terminations. Record which endpoint was inspected and the specific defect found. An open indication identifies an electrical condition; it does not by itself prove which contact is defective. After an approved correction, record the second test as a new result. Keep the initial failure and repair note rather than deleting the learning history. If there is no confirmed cause, report that honestly.
Trainer ID: T-225 Cable part / jack part / instructions revision: Selected scheme: Isolation confirmed by: Preparation and routing inspected by: Required cap and retention fitted: Test instrument / setup / remote: Initial result and report file: Correction, if any: Retest result and report file: Instructor practical assessment: pass / repeat / not assessed
A wire-map-only trainer can demonstrate mapping skills. It must not be described as a category-certified link unless the required certification measurements were actually performed using the correct configuration. Carry the test-boundary lessons from Lesson 222 into this exercise.
Collect copper and insulation offcuts, return tools and mark the sample's status. A damaged or unidentified sample must not be placed with accepted work. For a second practice attempt, have the instructor confirm that the connector can be reused under its instructions; do not assume unlimited retermination. The learning objective is repeatable, inspected work—not the fastest punch-down time.
Why identify the jack model first? Its preparation, tool and assembly method may differ. What does a neat appearance prove? Only the observed appearance; testing is still required. What follows a repair? Repeat the required tests and record the new result. Can this exercise use an unknown building cable? No; use the identified disconnected trainer. Does this lesson authorize production work? No; field work follows the employer's authorization, training and applicable local requirements.
In a fictional review of T-225, the work card names a punch-down jack and requires a cap before testing. The learner's photograph shows the correct wire colors but no cap; the saved report shows a wire-map pass. The instructor records assembly incomplete and withholds trainer acceptance. The learner completes the permitted assembly under the supplied instructions and obtains a new wire-map pass. The closeout record retains both reports, identifies the cap correction and describes the measured scope as wire map only. It does not claim category certification or independent field qualification. This paper case shows why a test must describe the completed assembly, not an earlier intermediate state.
Mistake: Choosing the impact tool because the outlet has an RJ45 interface. Correction: Identify the exact jack and its termination method first; use its specified tool or tool-free closure rather than transferring a punch-down method.
Mistake: Accepting the first passing map before fitting the required termination cap. Correction: Complete the documented cap and retention assembly, then perform the required test on the finished trainer.
Mistake: Striking the pin-6 contact repeatedly after an open indication. Correction: Verify endpoints, tester setup and accessible terminations; correct the confirmed defect under supervision and retain the initial and repeat results.
Why does an open at pin 6 not identify a failed jack by itself?
Answer: The indication describes an interrupted path; connections, conductor damage or the test setup can require investigation.
Why keep an earlier failure after a successful retest?
Answer: Together with the correction note, it explains what changed and which result describes the final sample.
[1] Siemon, Punchdown Flat MAX Module Instructions, Rev. D 07/07, 100.12450. https://files.siemon.com/en/instruction/wa_punchdown-flat-max-module_ii.pdf [2] Leviton, ATLAS-X1 Premium Copper System, tool-free termination description. https://leviton.com/products/network-solutions/copper-systems/atlas-x1 The dated Siemon document illustrates a product-specific method, not the current instructions for every jack. Use the supplied part's current documentation. The generic schematic intentionally does not depict terminal positions or strip lengths.
Texas journeyman, 15 questions, scored by topic against the 70% mark. No card, and no account needed to start.
Free study material for low-voltage apprentices. This is a national foundation course: requirements differ by state and by local jurisdiction, and a practice that is common in one place is not a rule everywhere. Nothing here is a licence, a certification, or authority to work unsupervised, and completing it does not count as apprenticeship hours or continuing-education credit. Check the codes adopted where you are working, the licensing authority for that work, and your employer's safety programme. VoltMark is not affiliated with, endorsed by, or sponsored by NFPA, OSHA, NICET, BICSI, FOA, or any state or local licensing authority.

Electrician licensing exam prep: practice questions, timed exam simulations, and step-by-step help finding every answer in the NEC.