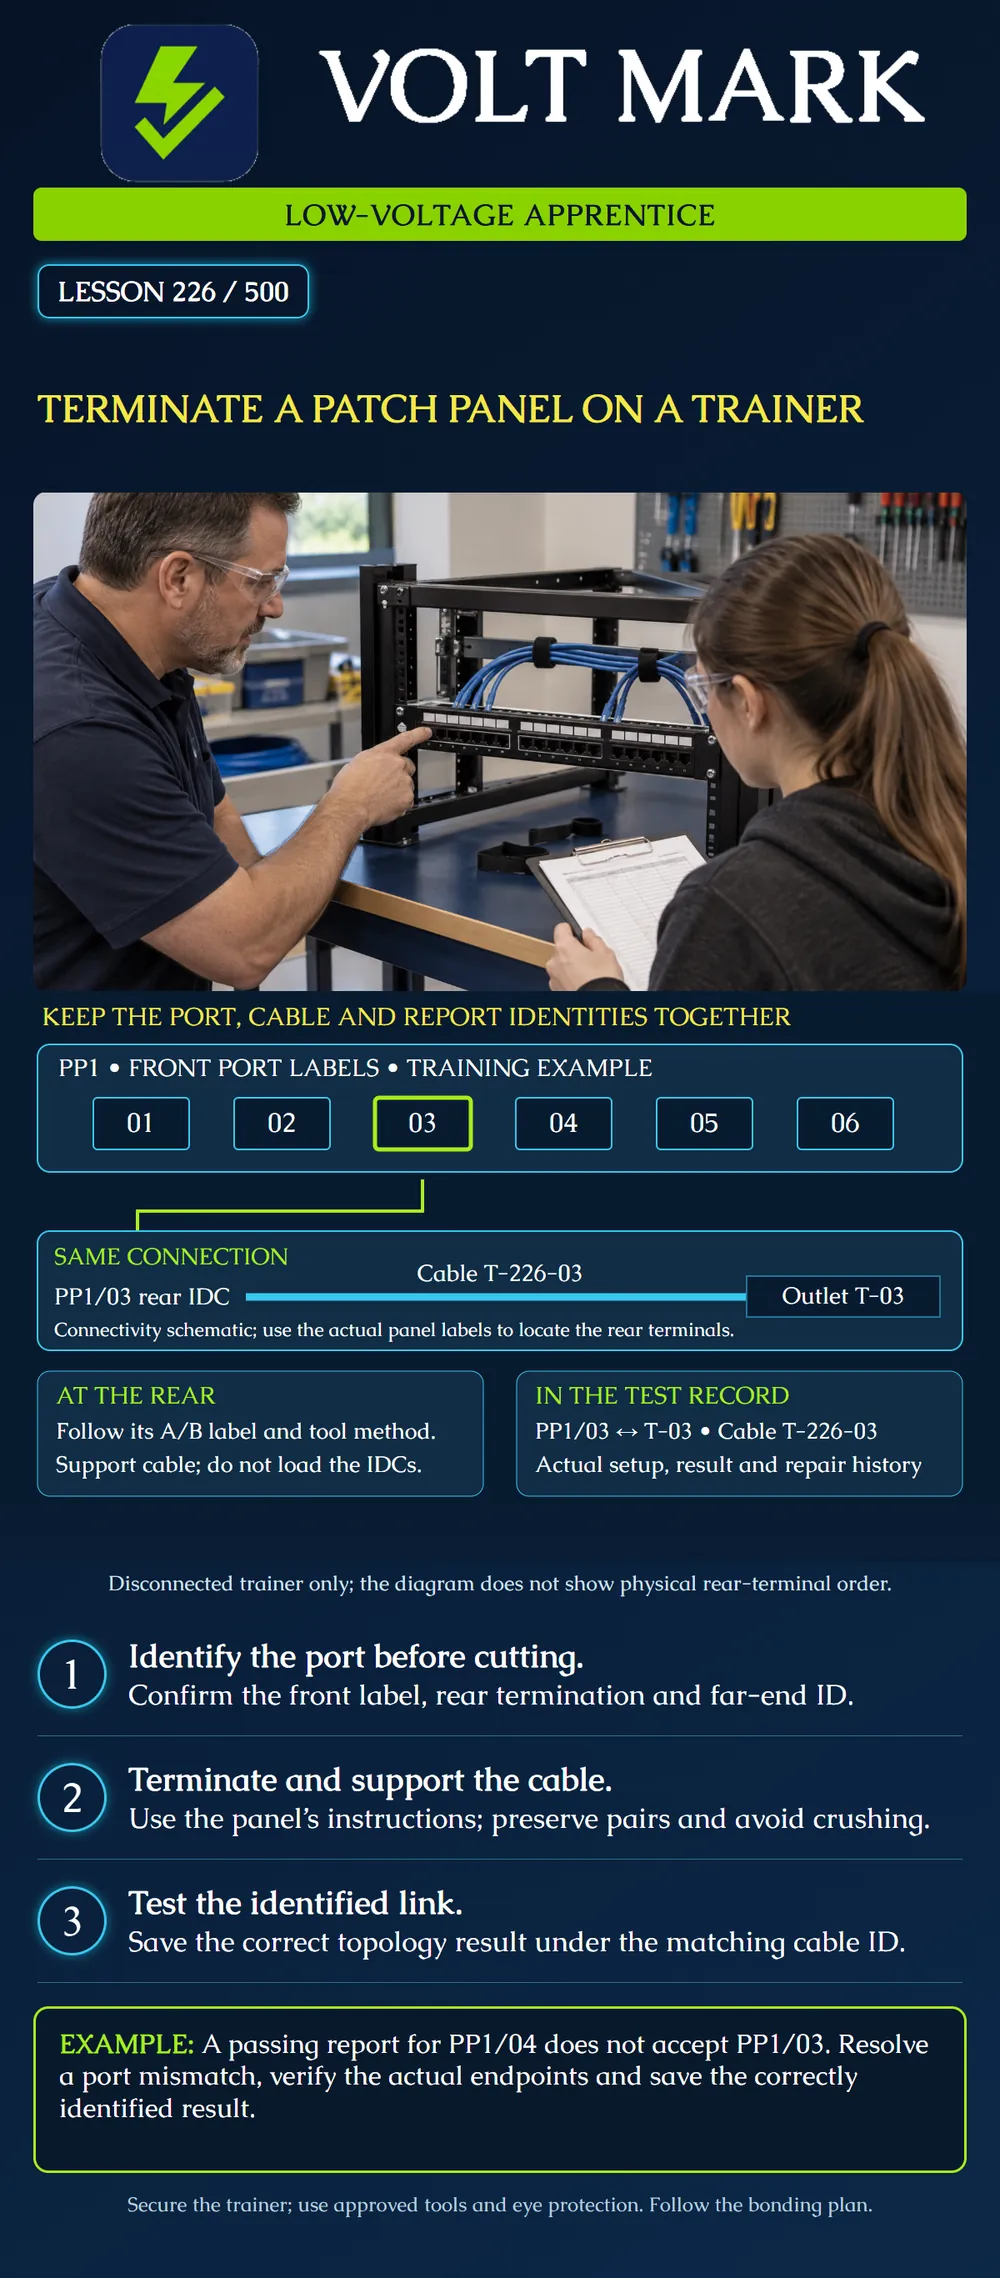
Terminate an identified training cable onto the correct patch-panel port, provide suitable cable support and document the tested endpoints. This exercise extends the individual-jack work in Lesson 225 to a panel where neighboring ports increase the risk of identification errors.
Use a securely mounted, disconnected practice panel and known cable samples. The instructor confirms that no sample connects to PoE, a telephone circuit, an active switch or another building system. Keep unknown conductors out of this exercise. Use eye protection, a dry work area and the approved support and termination tools. Do not work against a loose panel or balance an unsecured rack.
Panel: PP1 Assigned port: 03 Cable ID: T-226-03 Far-end outlet: T-03 Wiring scheme: T568B for this exercise Test scope: the specified fixed link, with the appropriate tester setup Instructor: to be recorded
The poster shows connectivity, not the physical arrangement of a panel's rear terminals. Confirm the association using the actual panel markings. Looking from the back can change apparent left-to-right positions; counting across by eye is not identification.
Leviton's referenced 110-style panel instructions identify the A/B markings between IDC positions, specify preparation and tool settings, and describe cable-management hardware. They warn against overly tight cable fastening. Use the selected panel's own instructions for routing, preparation dimensions, impact setting and assembly. Do not transfer these details to a modular tool-free panel. [1] An unloaded panel with separate snap-in jacks uses the approved jack method and mounting system. An integrated punch-down panel uses its own termination field. Identify which construction is on the trainer before selecting tools.
This is a teaching sequence. The instructor and manufacturer directions determine the detailed physical procedure and acceptance criteria.
The referenced Leviton product has a panel bonding provision and explains that its metal-panel bond does not bond the communications contacts. Do not assume rack contact alone establishes every required bond, or that a metal panel automatically provides cable-shield continuity. Follow the approved trainer design and applicable product instructions. [1] This lesson gives no universal bonding-conductor size or nationwide installation rule. A field installation's bonding design requires its own applicable requirements.
A permanent-link measurement evaluates fixed cabling rather than the user equipment cords. Use supported permanent-link adapters and the applicable test limit for the actual arrangement. [2] If the trainer instead ends in a field plug, return to Lesson 222 and select the appropriate topology; do not simply rename a different test report. A wire-map exercise is useful for learning, but a wire-map result alone must not be labeled full category certification.
The learner saves a passing report under PP1/03. During review, the remote is found at T-04 and the tested panel connection was PP1/04. The report does not prove T-226-03 passed. Preserve the evidence, correct the record through the approved process and test the intended link with verified endpoints. Do not merely change the report name to the desired cable ID.
A cable passes, then is pulled tight while dressing the bundle. The learner points to the earlier result as proof that the final arrangement is accepted. The instructor asks whether the installed condition changed after the measurement. Inspect the altered route, correct the support and repeat the required verification. The record must describe the final accepted condition.
Write the panel model, cable model, port/cable/outlet IDs, chosen scheme, instruction revision, tester setup, report file, result and instructor assessment. Record faults and corrections rather than only the final pass. Use “not tested” or “not assessed” where appropriate.
Why read rear markings? Front and rear visual positions can be misleading. What should carry the cable load? The approved cable support, not the IDC contacts. Does a passing adjacent port accept this port? No. Can a trainer result be called category certification without those measurements? No. What follows a repair or material change? The required inspection and retest.
Mistake: Counting rear terminals from left to right to find front port 03. Correction: Verify the manufacturer's front-to-rear port association and cable/end labels before terminating or testing.
Mistake: Pulling a tested cable tight while dressing the panel and keeping the earlier pass as final evidence. Correction: Inspect the changed support and route, correct strain under the product instructions and repeat the required verification.
Mistake: Renaming an adjacent port's passing report to fill the assigned port's missing result. Correction: Preserve the wrong-port record with its explanation and test the intended link with both endpoint identities confirmed.
Why is correct mapping on PP1/04 not evidence for PP1/03?
Answer: A result belongs to the physical path actually connected to the tester, regardless of the saved filename.
Why document cable support as well as IDC seating?
Answer: Properly seated contacts can later be stressed by unsupported cable or altered dressing; inspection must include the final mechanical arrangement.
[1] Leviton 69586-B24/B48, Cat 6 Flat 110-Style Patch Panels, PK-A3262-10-00-0A, 2019. https://leviton.com/content/dam/leviton/network-solutions/product_documents/instruction_sheet/Leviton_IST_69586-Bxx_Cat6_Flat110StylePatchPanels_EU_English.pdf [2] Fluke Networks, Permanent Link definition – DSX CableAnalyzer. https://www.flukenetworks.com/knowledge-base/dsx-cableanalyzer-series/permanent-link-definition-dsx-cableanalyzer The Leviton regional/datable product example is not a nationwide code requirement; Fluke's historical standards references are not presented as current adopted editions. Confirm current instructions for actual hardware.
Texas journeyman, 15 questions, scored by topic against the 70% mark. No card, and no account needed to start.
Free study material for low-voltage apprentices. This is a national foundation course: requirements differ by state and by local jurisdiction, and a practice that is common in one place is not a rule everywhere. Nothing here is a licence, a certification, or authority to work unsupervised, and completing it does not count as apprenticeship hours or continuing-education credit. Check the codes adopted where you are working, the licensing authority for that work, and your employer's safety programme. VoltMark is not affiliated with, endorsed by, or sponsored by NFPA, OSHA, NICET, BICSI, FOA, or any state or local licensing authority.

Electrician licensing exam prep: practice questions, timed exam simulations, and step-by-step help finding every answer in the NEC.